Overview of native library APIs
In most of this course, we focused on REST APIs. In this section, we’ll explore native library APIs, which are more common when building native apps that you install on devices (such as Android or iOS devices). Understanding native library APIs will also help clarify what makes REST APIs so different.
- Characteristics of native library APIs
- Do you have to be a programmer to document native library APIs?
- My approach to teaching native library API doc
- What you need to install
Characteristics of native library APIs
Native library APIs (also called class-based APIs or just APIs) are notably different in the following ways:
- Installed locally. Native library APIs are installed locally, compiled into the programmer’s code as an additional library. The programmer can then use the classes, methods, or other functions available in the library. (The API part refers to the public classes the developers use to access the functions in the library. There are probably lots of helper and utility classes in the Java library that aren’t public, but users will only interact with the public classes.)
- No requests and responses. The classes in native library APIs don’t use HTTP protocol, nor are there requests and responses sent across the web. Native library APIs consist of a collection of classes or functions that enhance your existing project with more capabilities. The APIs entirely local, with no web communication.
- Language specific. Native library APIs are language specific. There are as many different types of APIs as there are programming languages, more or less. You can have a Java API, Python API, C++ API, C# or .NET API, JavaScript API, and so on.
- Requires some programming knowledge to document. To understand how the API works, you need to have a general understanding of the programming language of the API. You don’t need to be a programmer, but you should be familiar with the nuts and bolts of the programming language, the correct terms, how the different parts fit together, and how developers will use the API.
We will focus this section on Java APIs because they’re probably one of the most common. However, many of the concepts and code conventions mentioned here will apply to the other languages, with minor differences.
Do you have to be a programmer to document native library APIs?
Because native library APIs are so dependent on a specific programming language, the documentation is usually written or driven by engineers rather than generalist technical writers. Native library APIs are one area where it helps to be a former software engineer when writing documentation.
Even so, you don’t need to be a programmer. You just need a minimal understanding of the language. Technical writers can contribute a lot here concerning style, consistency, clarity, tagging, and overall professionalism.
My approach to teaching native library API doc
There are many books and online resources you can consult to learn a specific programming language. This section of the course will not try to teach you Java in any comprehensive way. However, to understand a bit about Java API documentation (which uses a document generator called Javadoc), you will need some understanding of Java.
To keep the focus on API documentation, we’ll take a documentation-centric approach as we explore Java. You’ll learn the various parts of Java by looking at a specific Javadoc file and sorting through the main components.
What you need to install
For this part of the course, you need to install the Java Development Kit (JDK) and the Eclipse IDE for Java Developers.
Java Development Kit (JDK)
To check whether you have the Java Development Kit installed, do the following:
- On Mac: Open Terminal and type
java -version. - On Windows: Open a Command Prompt and type
where java.
If it’s installed, you should see a message somewhat like this:
java version "1.8.0_181"
Java(TM) SE Runtime Environment (build 1.8.0_181-b13)
Java HotSpot(TM) 64-Bit Server VM (build 25.181-b13, mixed mode)
If it’s not installed, you can download the JDK here. Click the Java button and then select the appropriate download for your machine.
Eclipse IDE for Java Developers
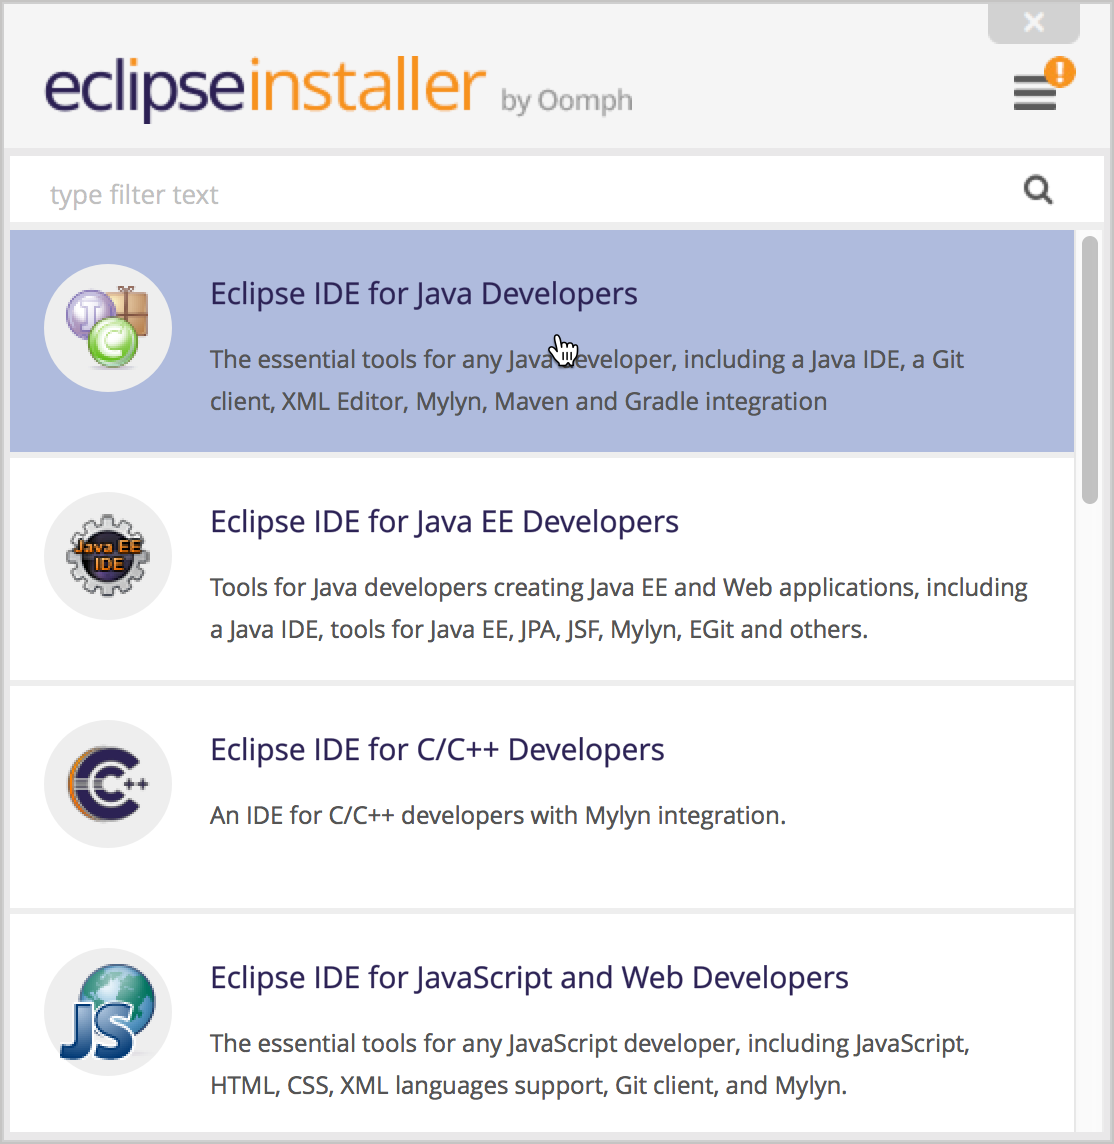
Download and install the Eclipse IDE for Java Developers.

Start Eclipse. When prompted to select a workspace, select the default location and click Launch. Close the welcome tab.
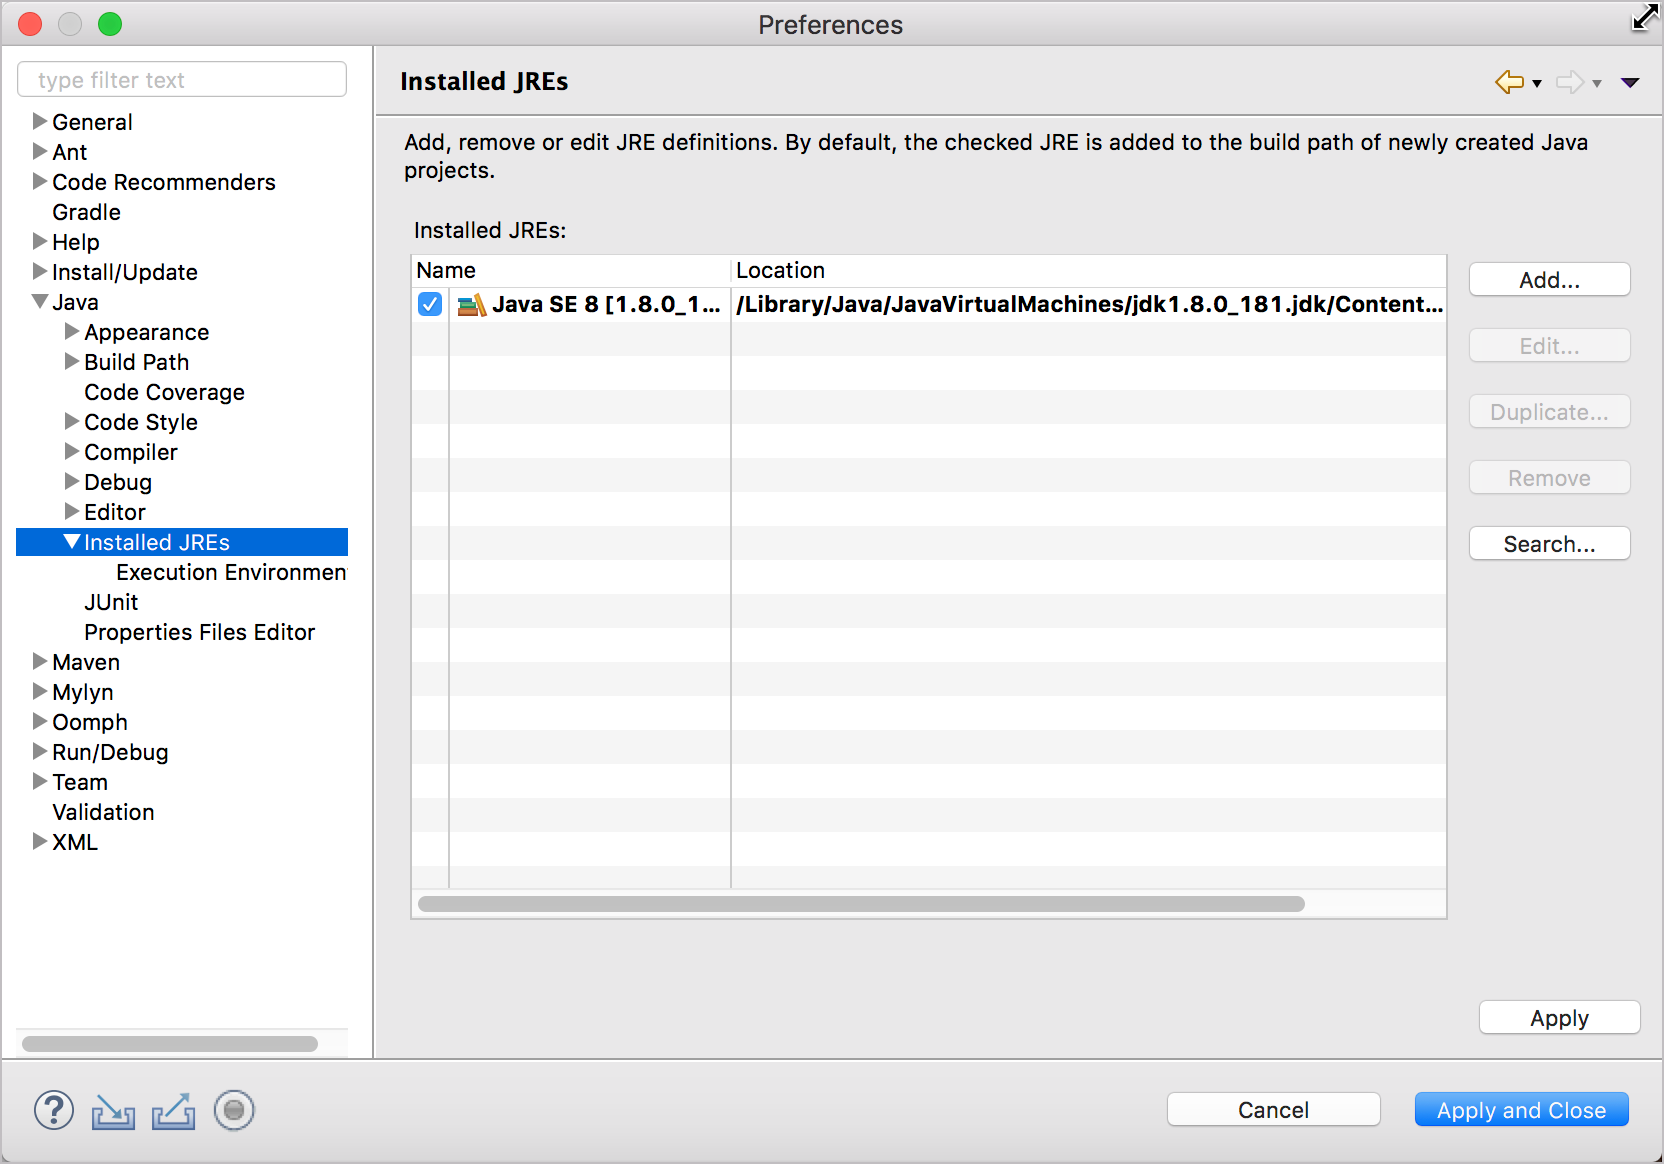
To make sure Eclipse is configured to use version 1.8, go to Eclipse > Preferences and then Java > Installed JREs.

If 1.8 isn’t selected, browse to your install directory (on Mac, it’s /Library/Java/JavaVirtualMachines/jdk1.8.0_171.jdk/Contents/Home) and select it.
(Since we’ll just be using Java within the context of Eclipse, Windows users don’t need to add Java to their classpath. But if you want to be able to compile Java from the command line, you would also need to do this.)
116/145 pages complete. Only 29 more pages to go.
