API getting started
Following the API Overview section, you usually have a “Getting started” section that details the first steps users need to start using the API. This section often includes the whole process from beginning to end, compressed as simply as possible.
- Purpose of the API overview
- Run in Postman button
- Samples of Getting Started Topics
- Activity with getting started tutorials
Purpose of the API overview
The Getting Started topic is somewhat like the typical Hello World tutorial in developer documentation, but with an API. The tutorial holds a user’s hand from start to finish in producing the simplest possible output with the system. For Hello World tutorials, the simplest output might just be a message that says “Hello World.” For an API, it might be a successful response from the most basic request.

Both Hello World tutorials and Getting Started tutorials share the same goal: to show a user how to use a framework, API, or some other system to get the simplest and easiest result, so they get a end-to-end sense of how it works.
As an example, you could take a common, basic use case for your API and show how to construct a request, as well as what response returns. If a developer can make that call successfully, he or she can probably be successful with the other calls too.
The Getting Started tutorial might involve the following:
- Signing up for an account
- Getting API keys
- Making a request
- Evaluating the response

Put a link to your Getting Started tutorial on your documentation homepage. Make it as easy as possible for developers to use the API to get some result. If this means using pre-provisioned accounts or setup configurations, consider doing so.
Run in Postman button
In your Getting Started tutorial, consider including a Run in Postman button. (Postman is a REST API GUI client that we explored earlier in Submit requests through Postman.) If you have your API endpoints integrated with Postman, you can export your Postman collections as a widget to embed in an HTML page.
The Run in Postman button provides a button that, when clicked, imports your API info into Postman so users can run calls using the Postman client. As such, the Run in Postman button provides a way to import the interactive, try-it-out API explorer for your endpoints into a web page.
To try out Run in Postman, you can either import an OpenAPI spec into Postman or enter your API information manually. Then see the Postman docs on how to Create the Run in Postman button.
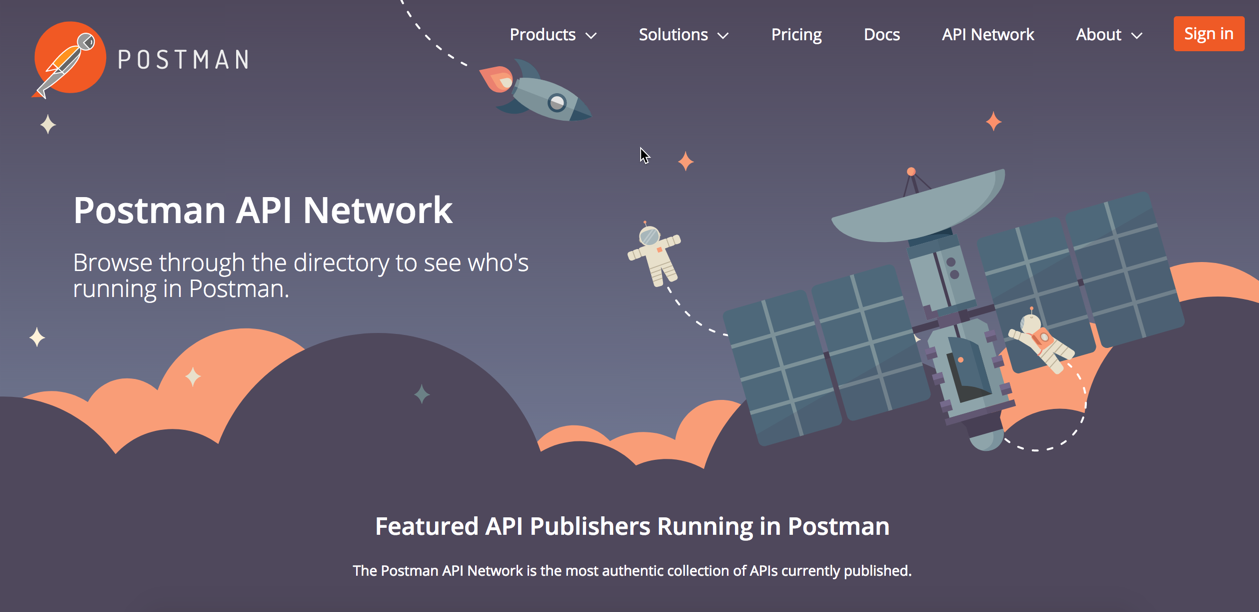
You can see the many demos of Run in Postman here. Many of these demos are listed in Postman’s API Network.
Here’s a demo of Run in Postman using the OpenWeatherMap API’s weather endpoint (which we worked with in earlier tutorials):
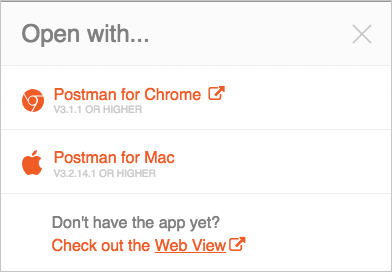
When you click the button, you should be prompted to open the collection in a Postman client:
Postman provides a powerful REST API client that many developers are familiar with. It allows users to customize the API key and parameters and save those values. Although Postman doesn’t provide the in-browser experience to try out calls as with Swagger UI, in many ways the Postman client is more useful because it lets users configure and save the calls they make. Postman is what internal developers often use to save and store API calls as they test and explore the functionality.
Especially if your users are already familiar with Postman, Run in Postman is a good option to provide (especially as one option of many for users to try out your API) because it allows users to easily generate the needed code to make requests in practically any language. It gives users a jumping off point where they can build on your information to create more detailed and customized calls.
If you don’t already have a “Try it out” feature in your docs, the Run in Postman button gives you this interactivity in an easy way, without requiring you to sacrifice the single source of truth for your docs.
The downside is that your parameter and endpoint descriptions don’t get pulled into Postman. Additionally, if users are unfamiliar with Postman, they may struggle a bit to understand how to use it. In contrast, the “Try it out” editors that run directly in the browser tend to be more straightforward and do a better job integrating documentation.
Samples of Getting Started Topics
Here are a few sample Getting Started topics in APIs. If you compare the various Getting Started sections, you’ll see that some are detailed and some are high-level and brief. In general, the more you can hold the developer’s hand, the better. However, the tutorial should still be brief and not simply redundant with the other documentation. The key is that you show the user the beginning-to-end, full process for working with the API.
Paypal
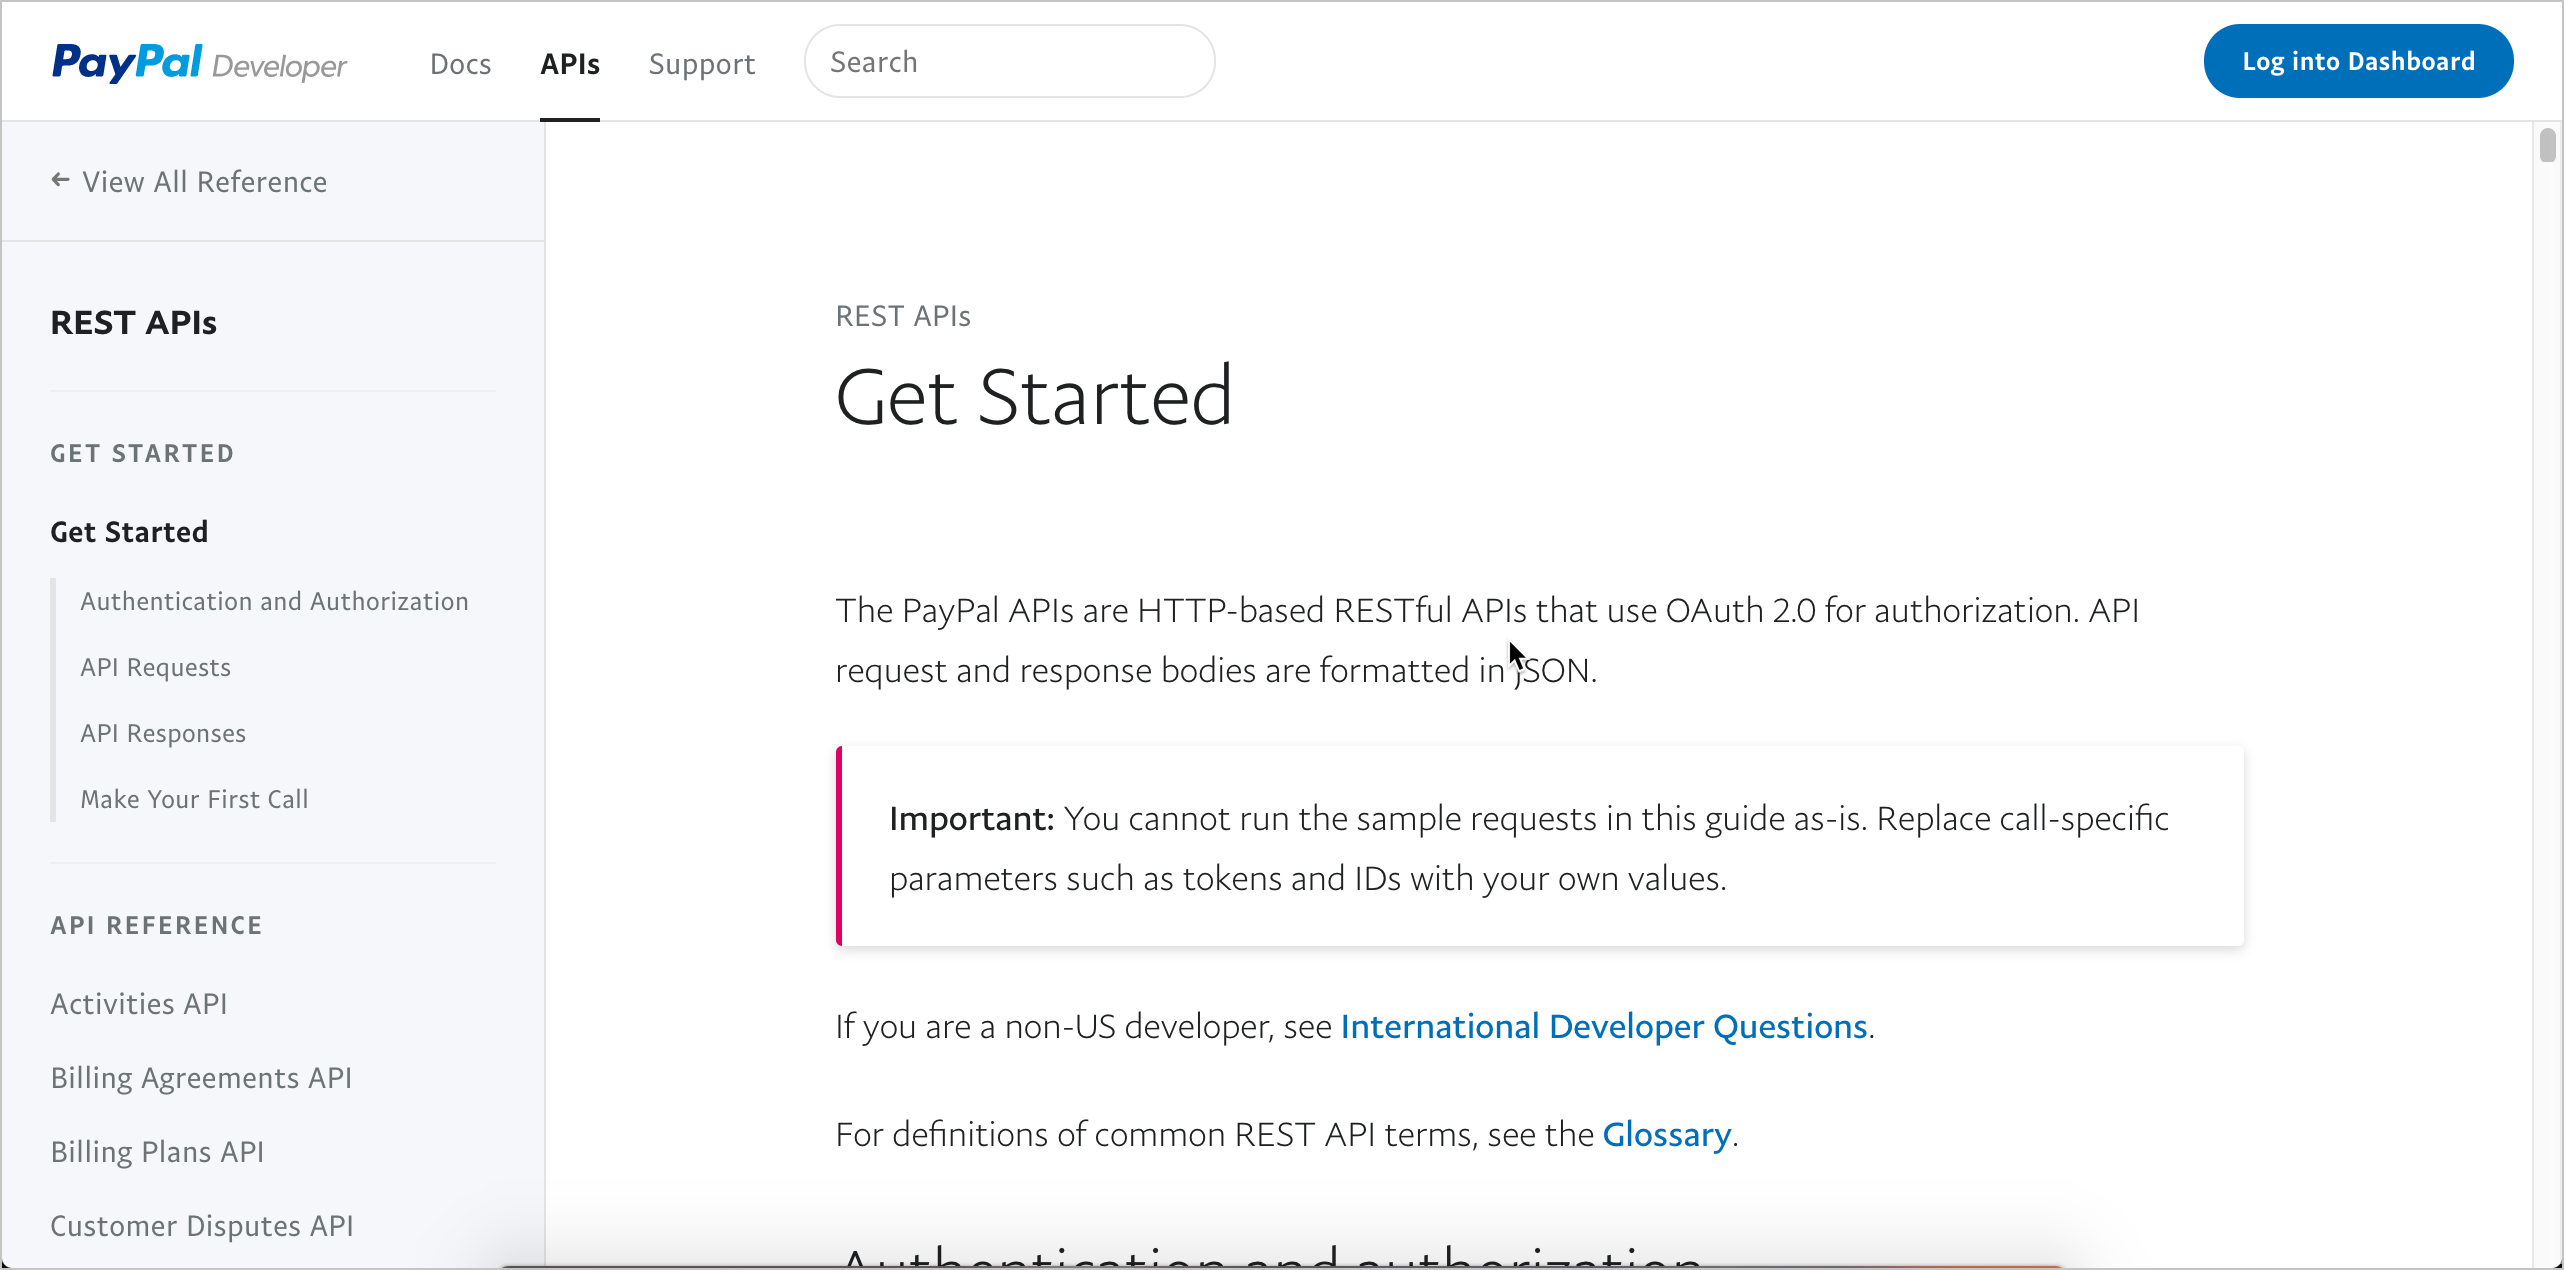
Paypal’s getting started tutorial contains quite a bit of detail, starting with authorization, requests, and other details before making the first call. Although not so brief, this level of details helps orient users with the information they need. The format is clean and easy to follow.
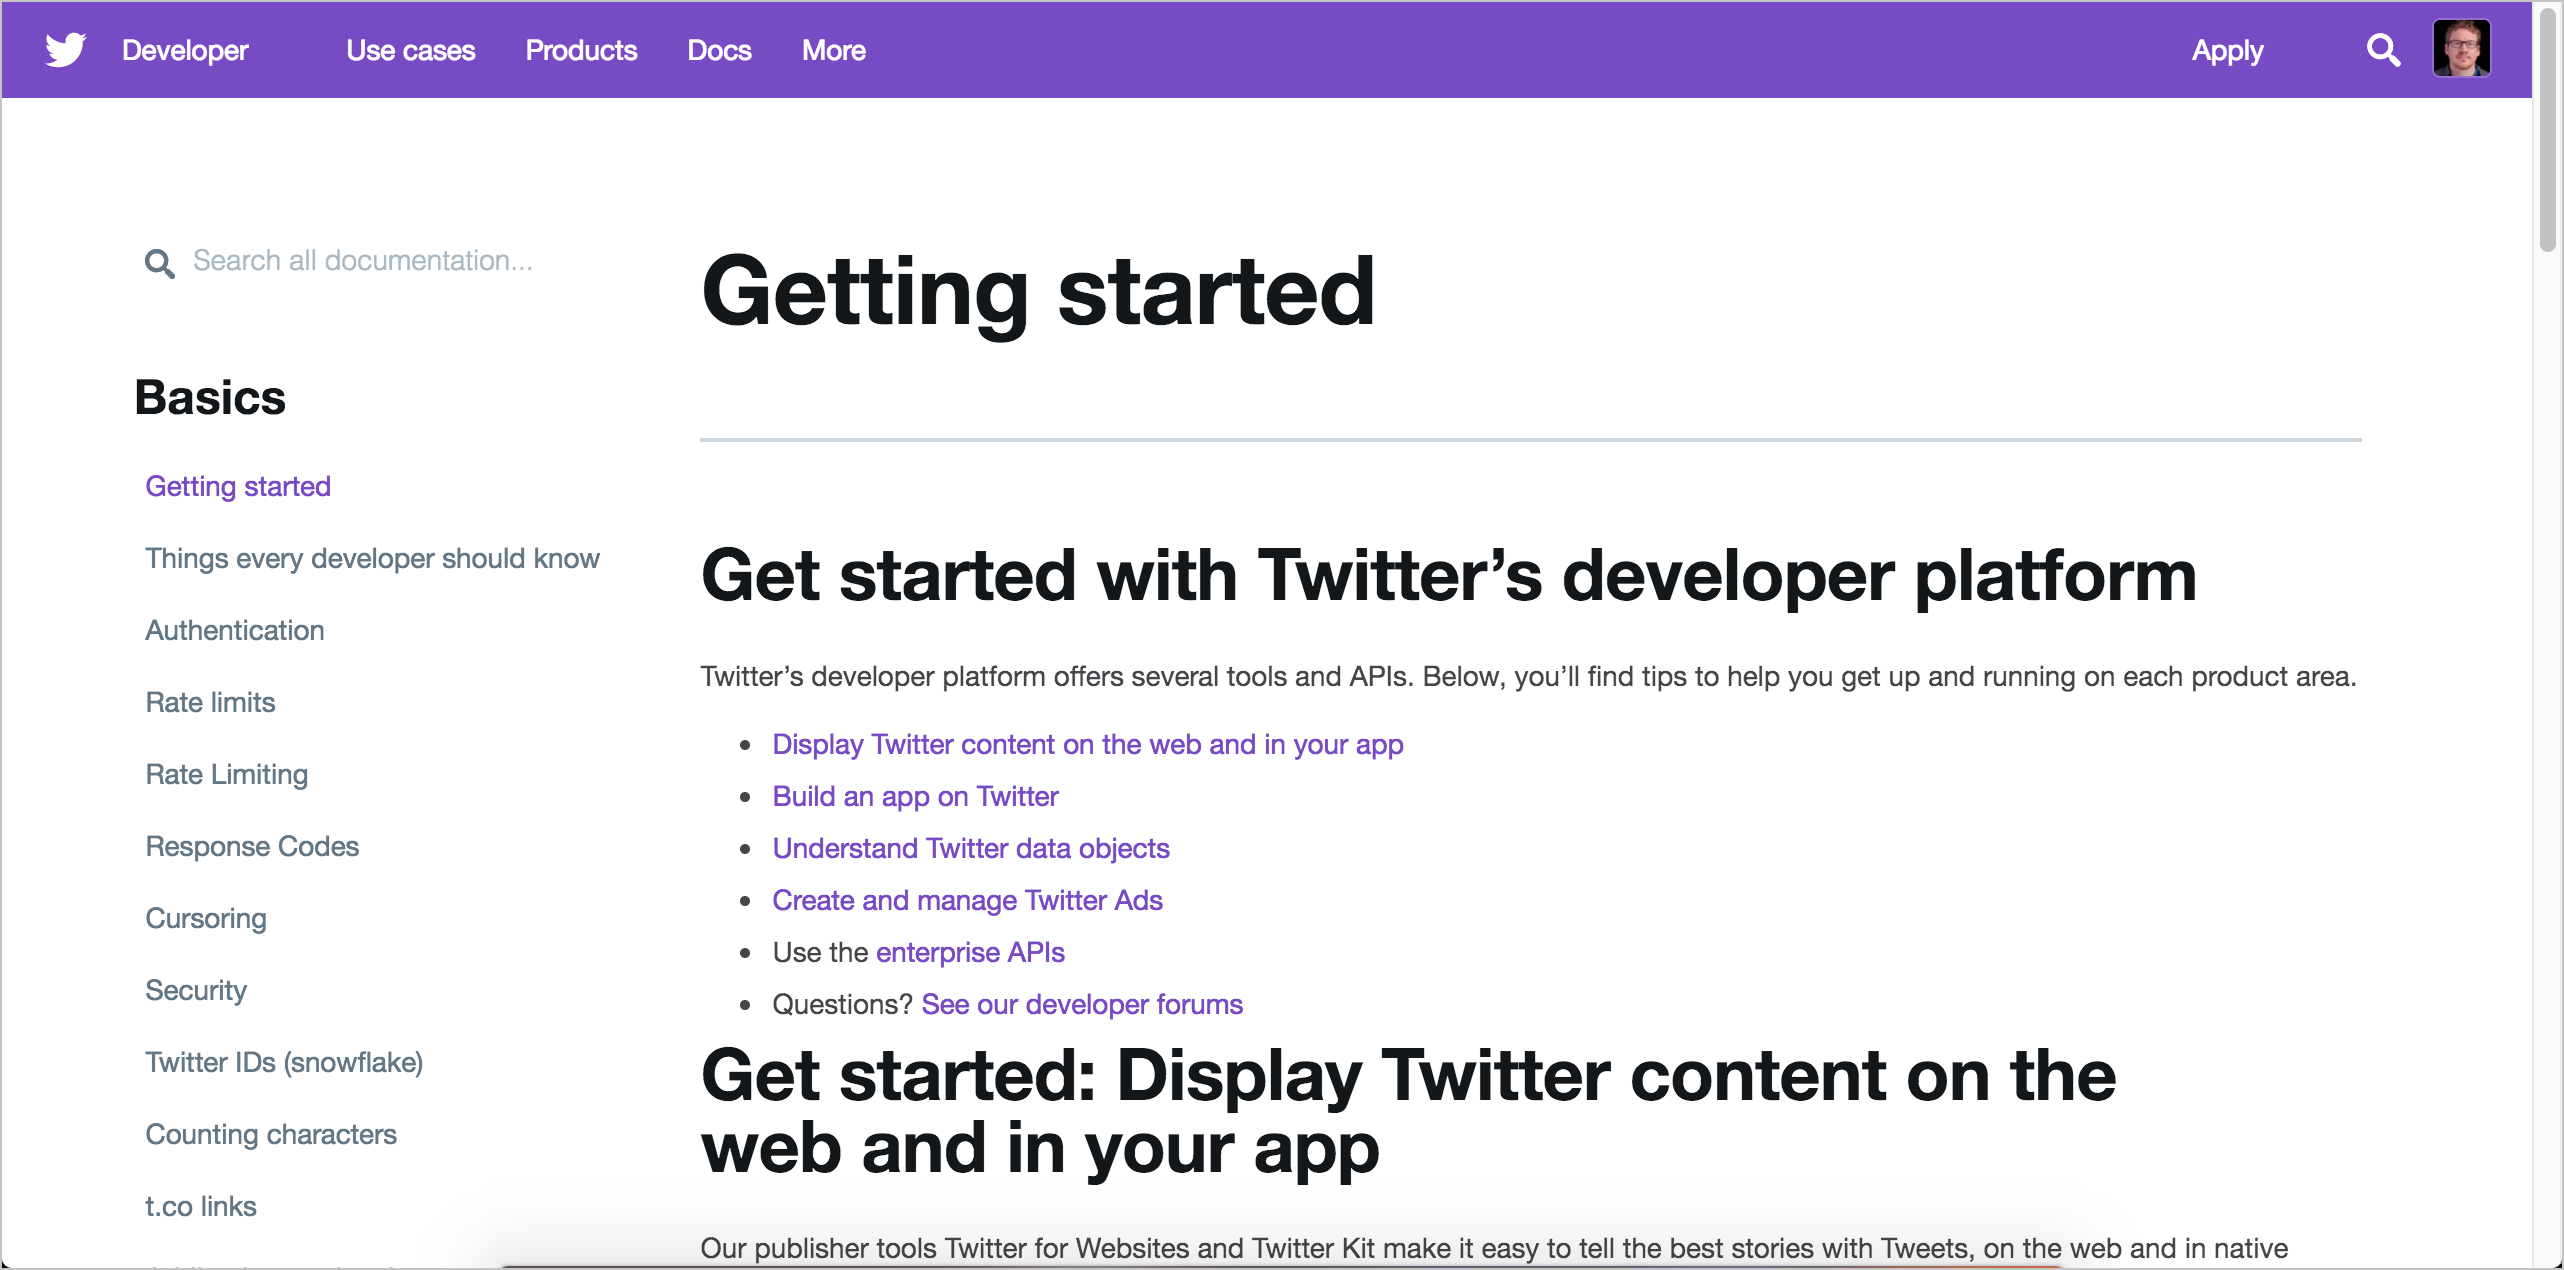
Twitter’s getting started page has several getting started sections for different development goals. The text is concise and easy to follow. The tutorial links frequently to other documentation for more details. In the need for brevity, you might need to follow this same strategy — being brief and linking out to other pages that have more detail.
Parse Server
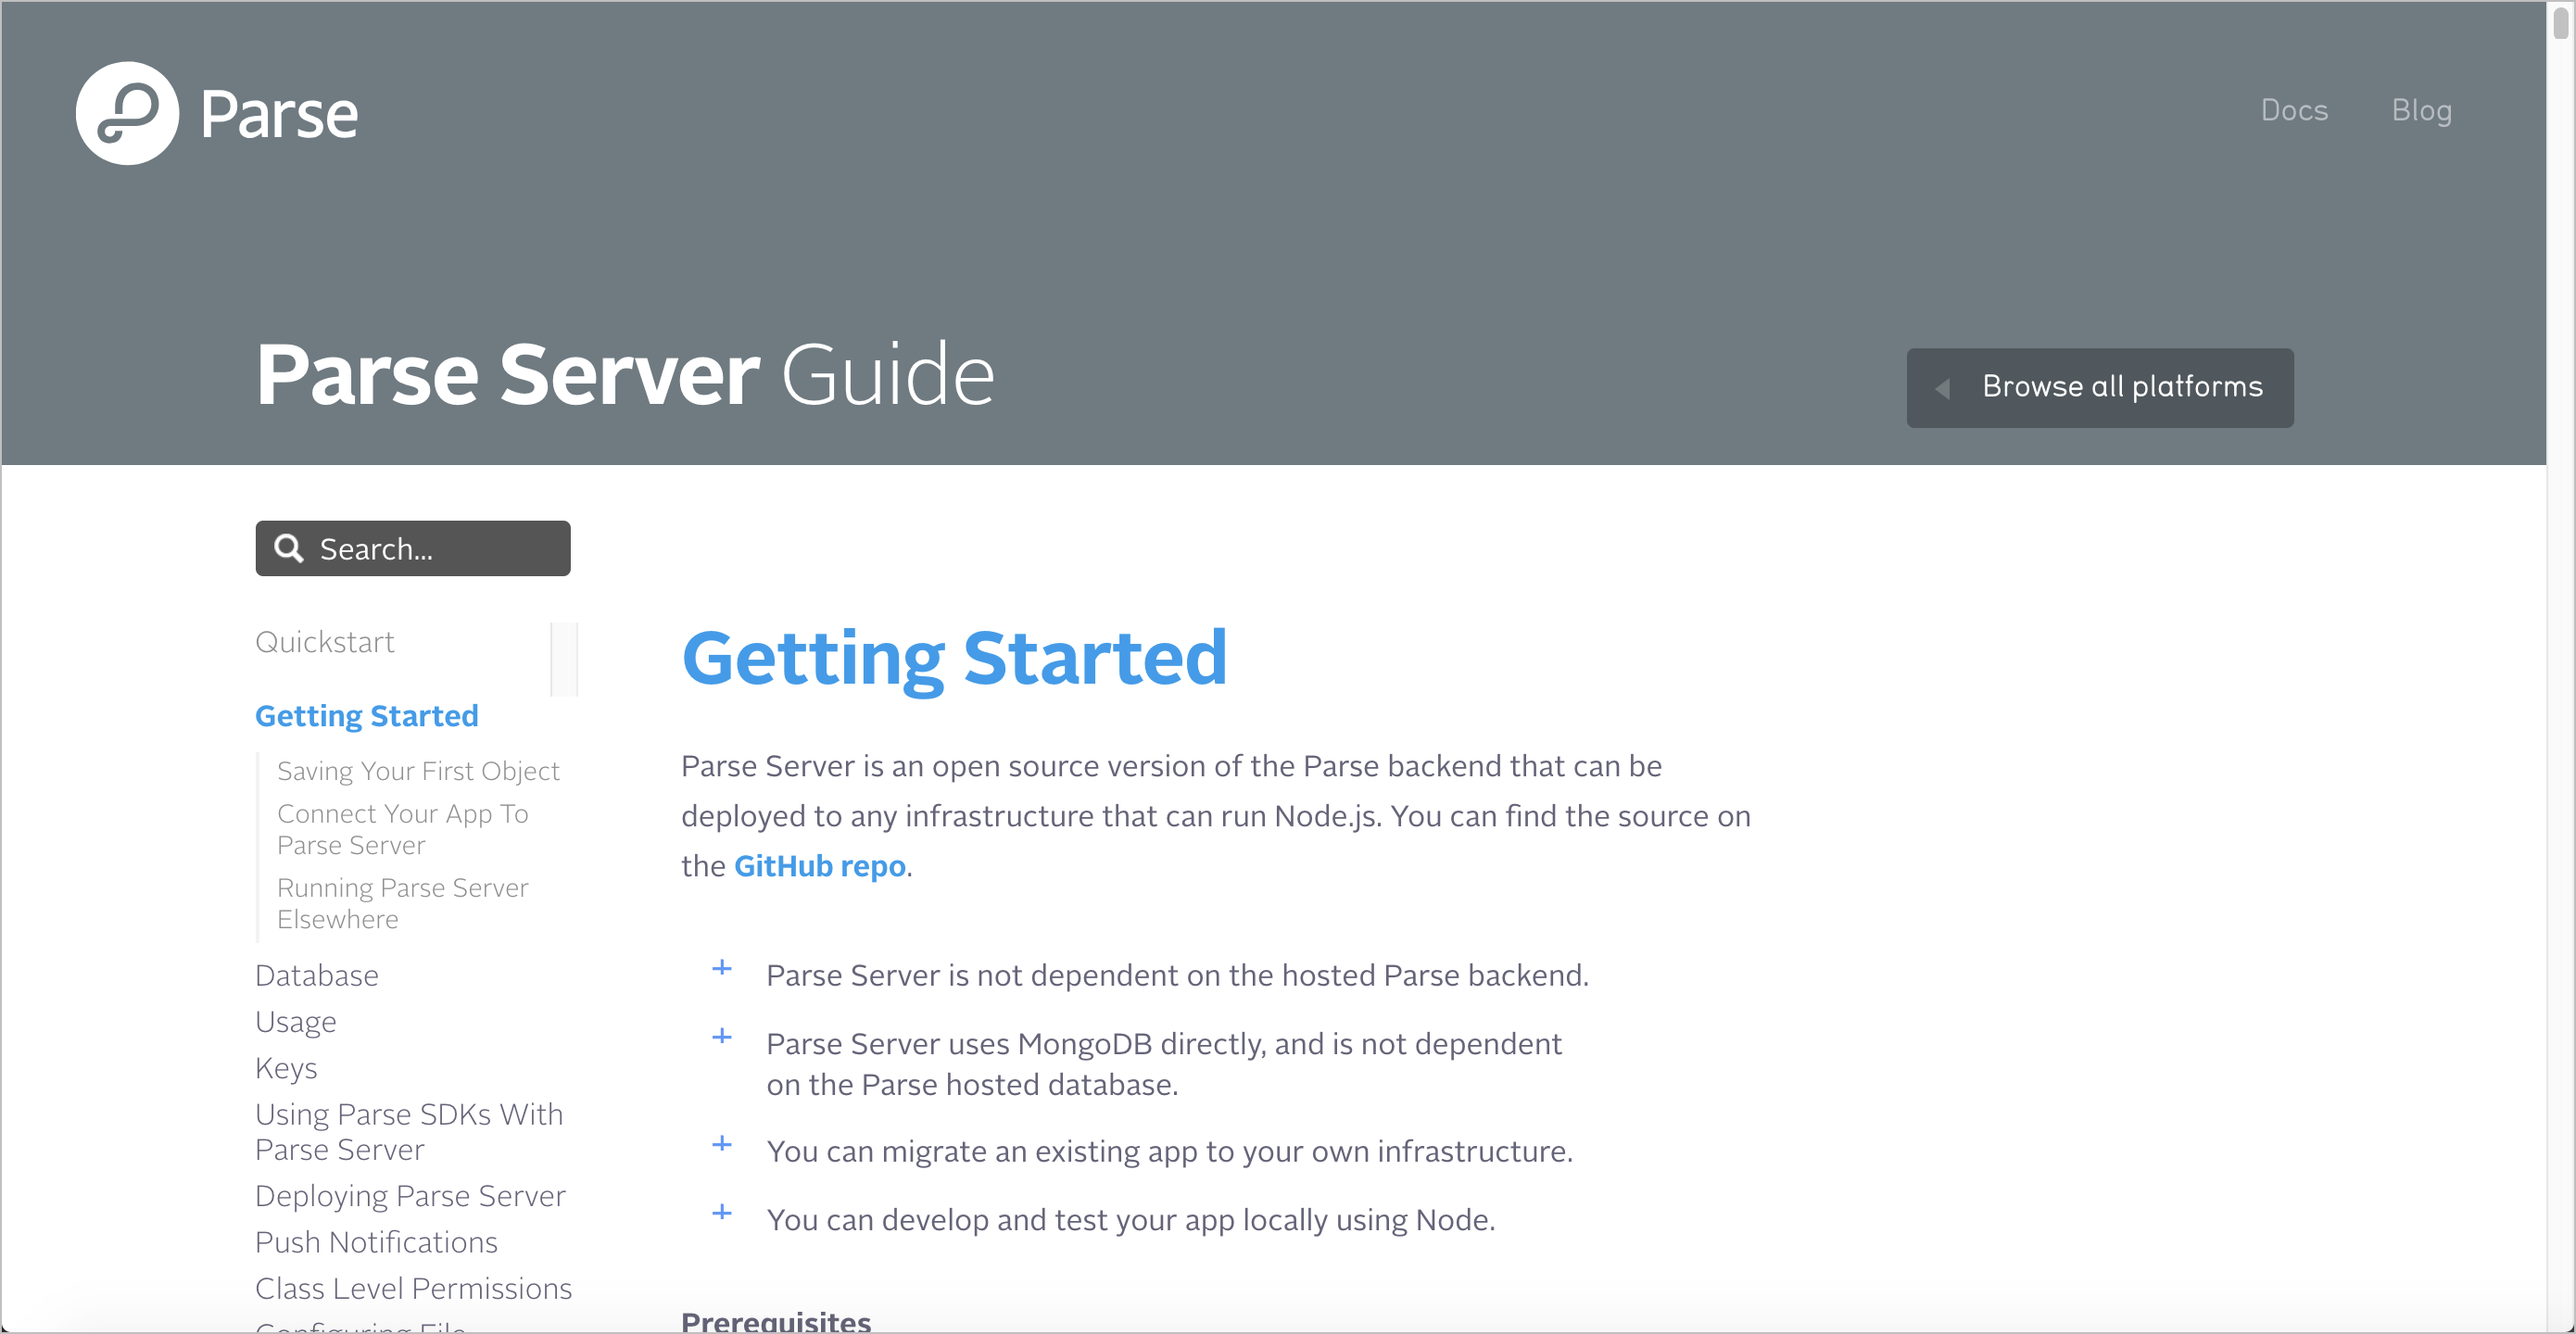
The Parse Server tutorial provides a fair amount of detail and handholding through the various steps. For the more detailed steps on connecting your app and running the server elsewhere, the tutorial links out to more information.
Adsense
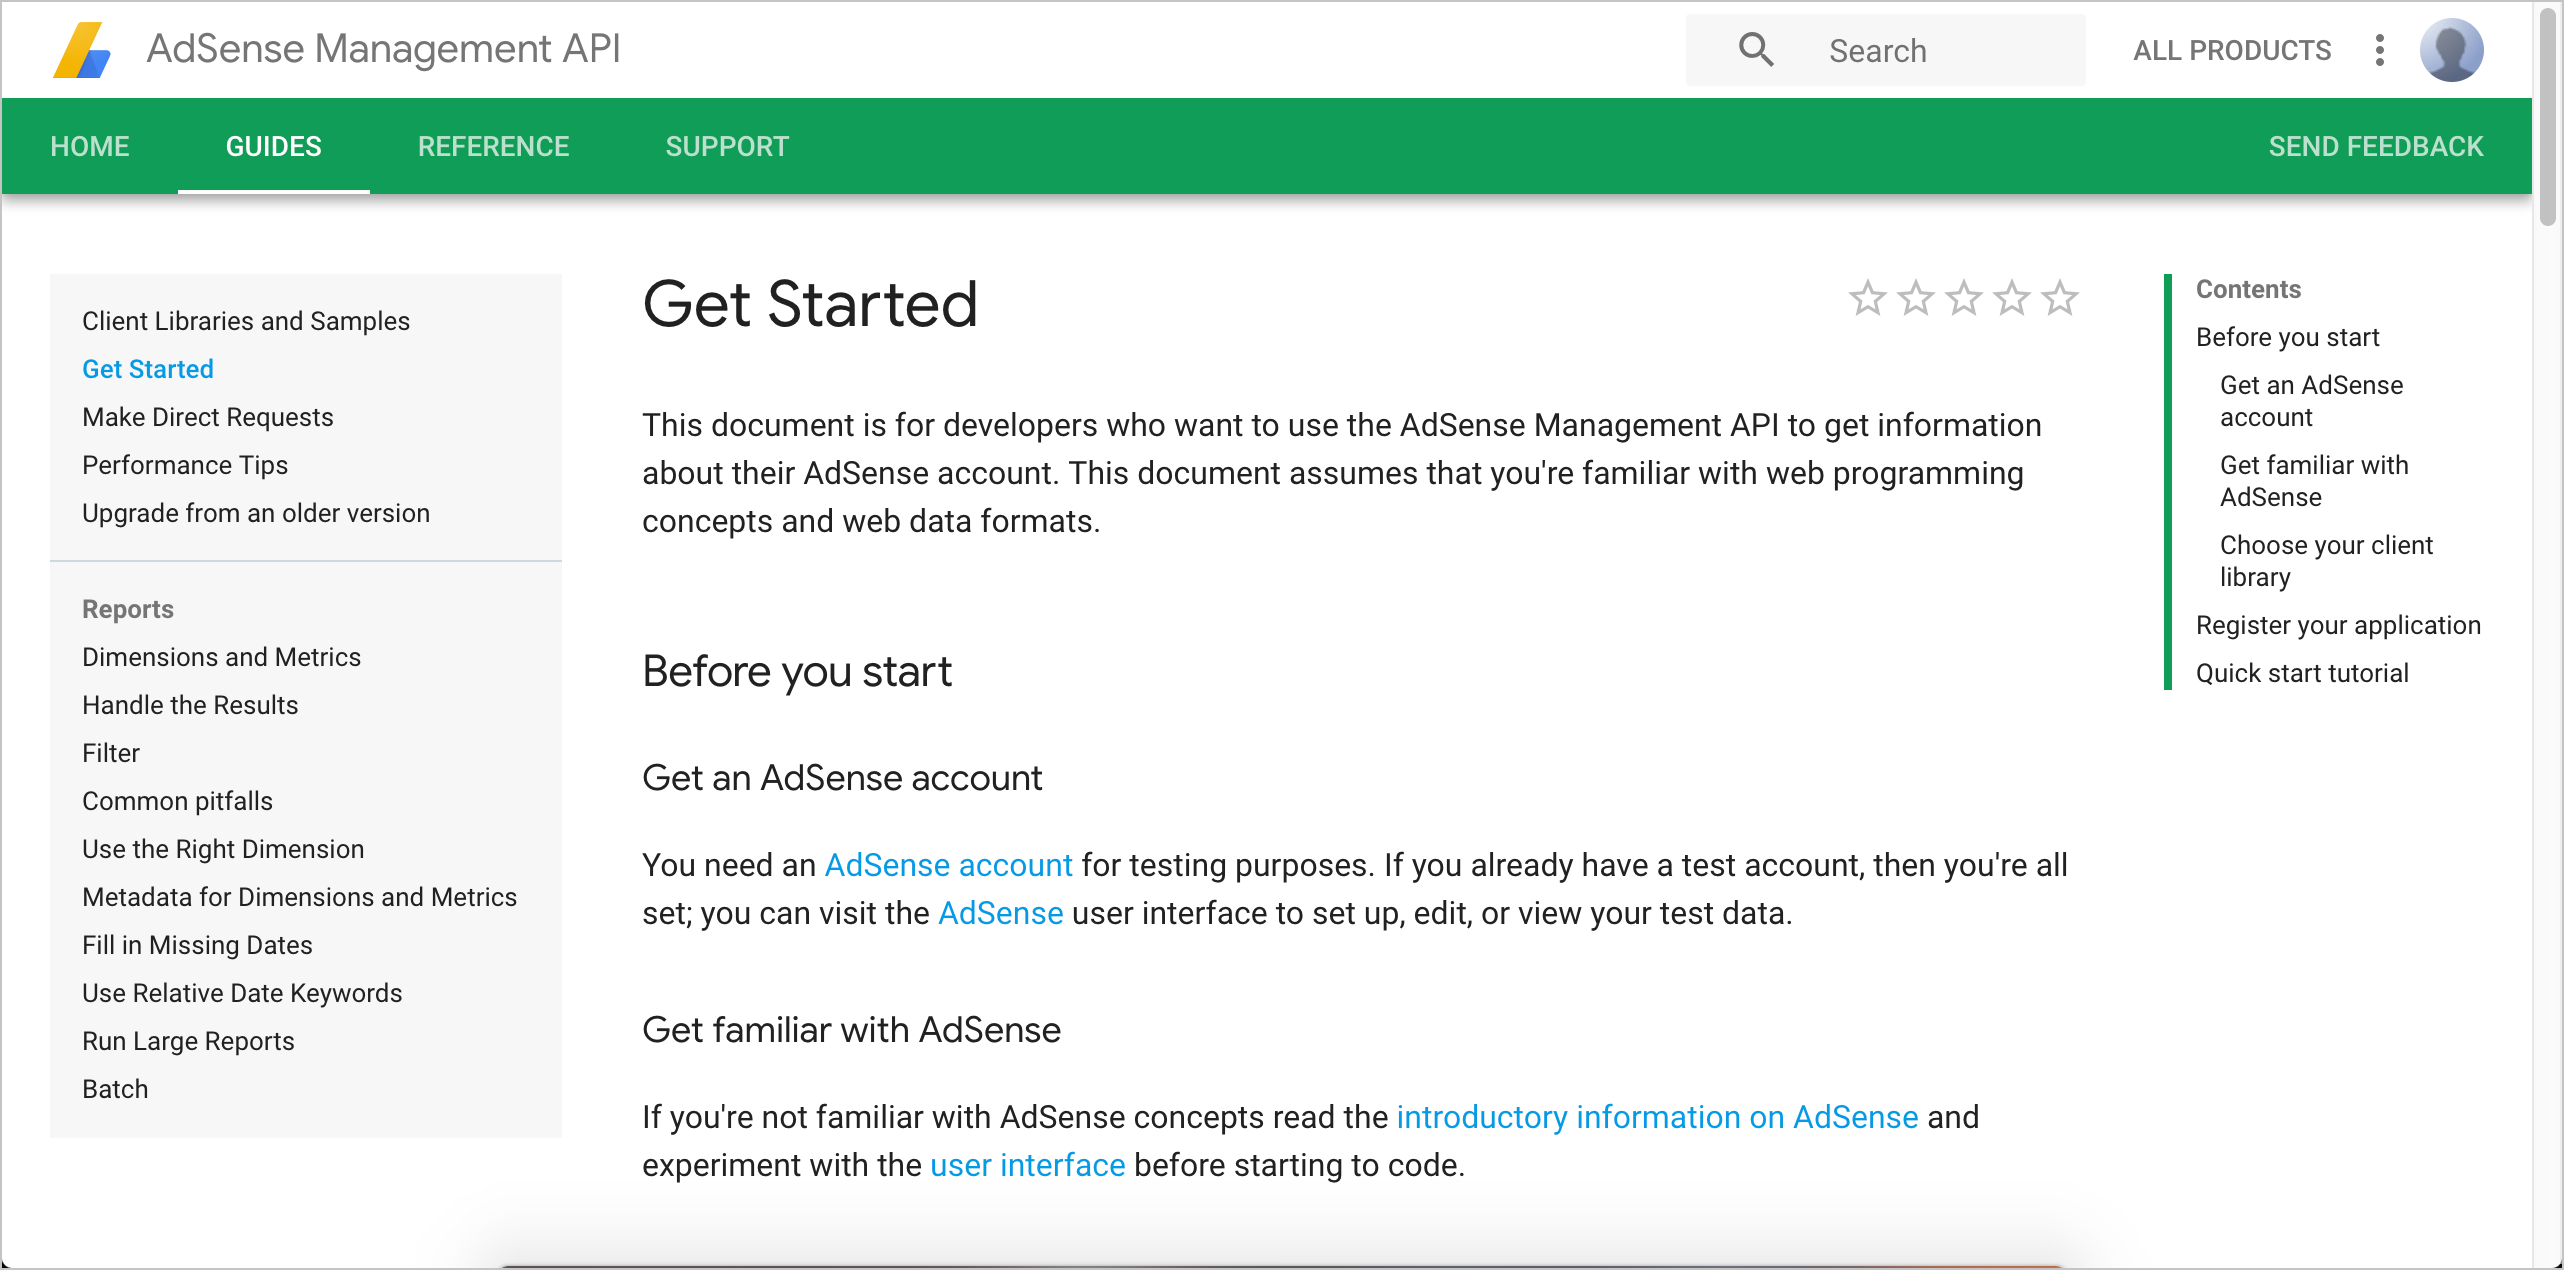
The Adsense tutorial separates out some foundational prerequisites for getting started on the platform. After you get set up, it then provides a “quick start tutorial.” The tutorial walks users through a simple scenario from end to end, helping them get a sense of the product and its capabilities.
Aeris
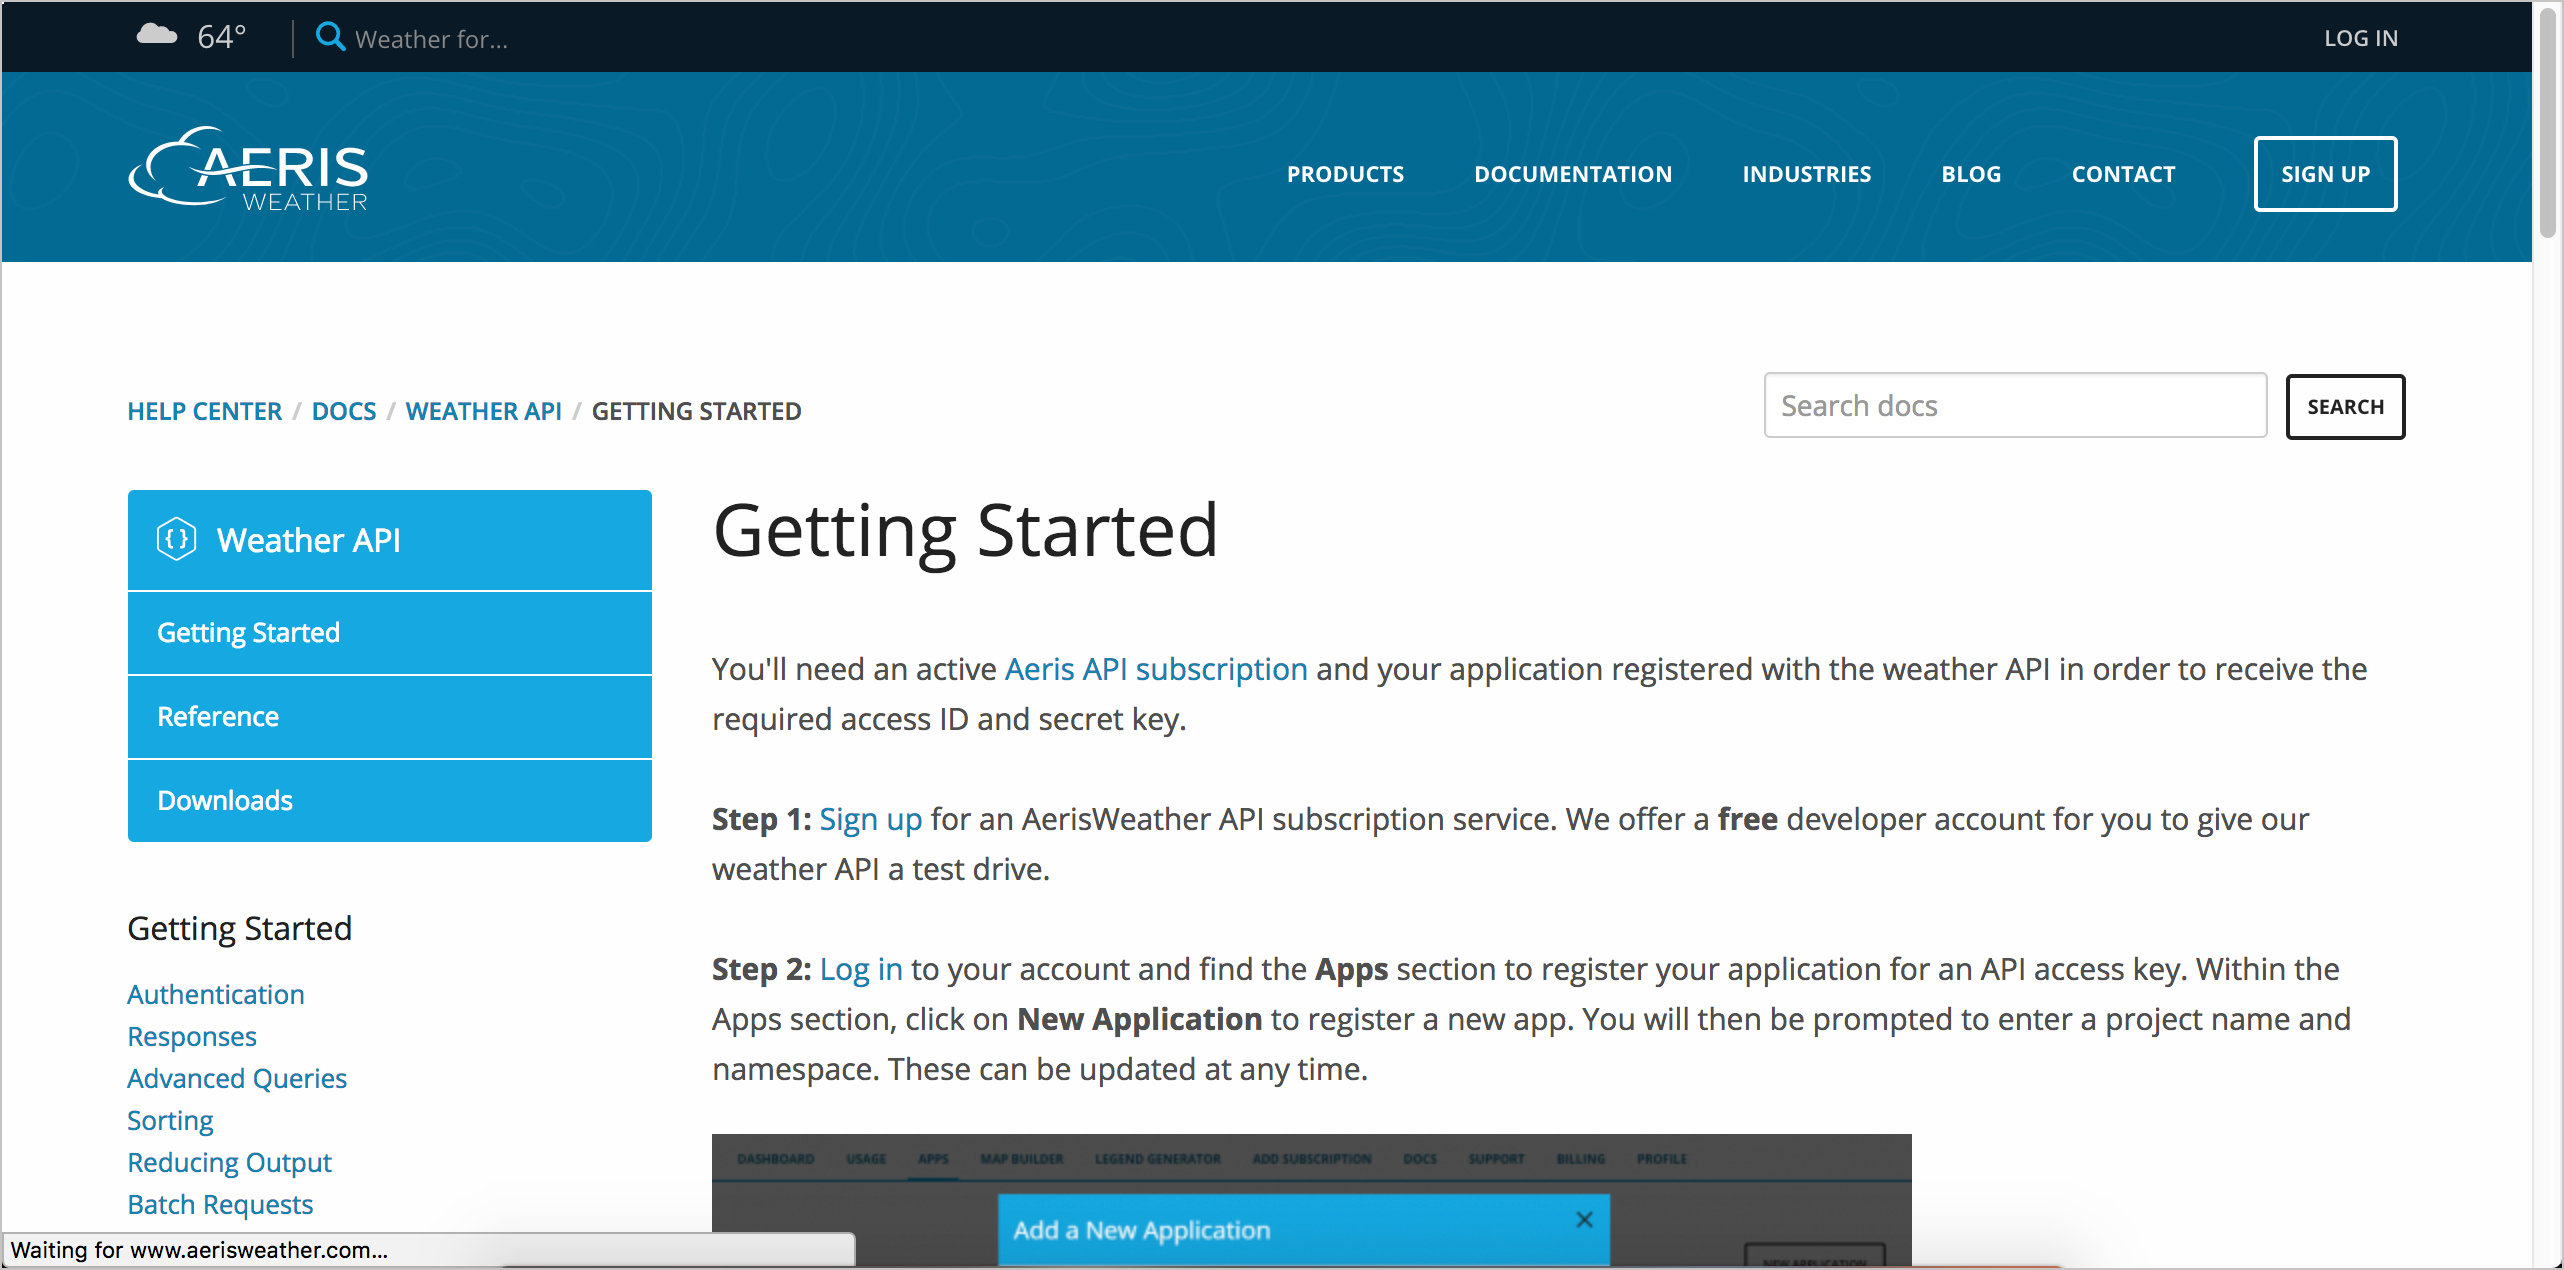
The Aeris weather getting started provides information for setting up an application and then making a request in one of several popular languages. While showing code in specific languages is undoubtedly more helpful for programmers coding in those languages, the code samples might be irrelevant to other users (e.g., Java devs might find the Python code irrelevant and vice versa). Focusing in a specific language is often a tradeoff.
Watson and IBM Cloud
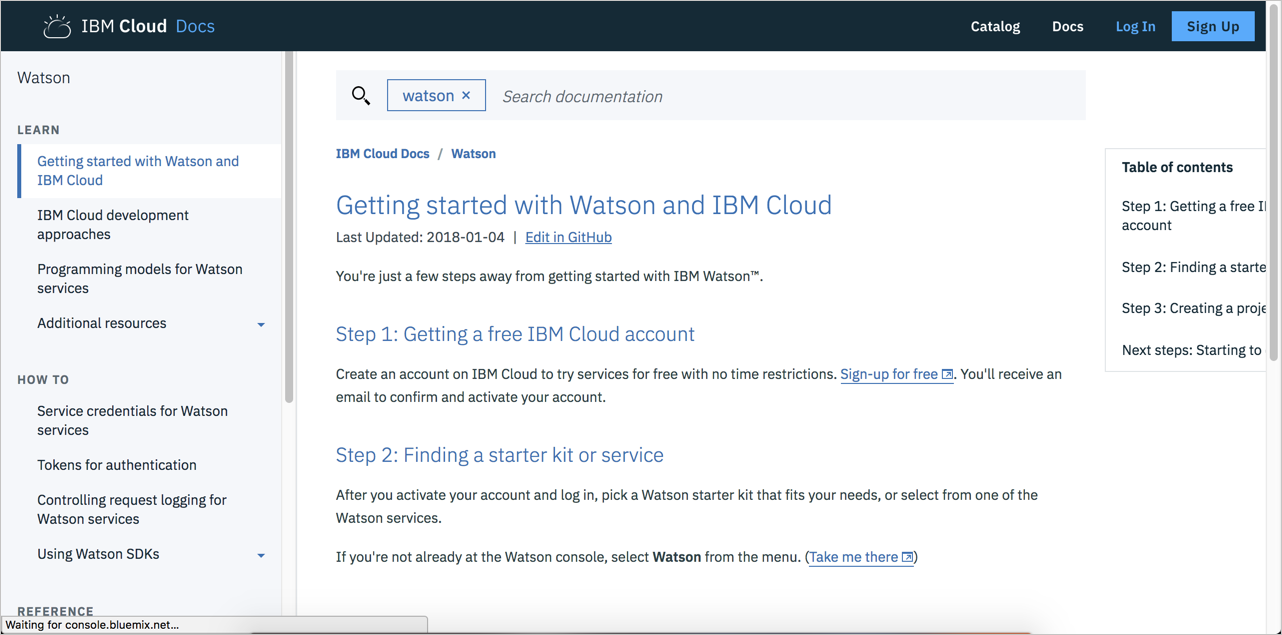
The Watson and IBM Cloud getting started tutorial lists three steps. It’s not an end-to-end getting started tutorial, though. It just gets the user started in selecting a service for your project. At the end, you start to code using the Watson Dashboard. Ideally, a getting started tutorial should help a user see some tangible output, but whether that’s possible or not depends on your API.
Activity with getting started tutorials
With the open-source project you identified, identify the getting started tutorial. Then answer the following questions:
- Does the API have a getting started tutorial?
- Does the getting-started tutorial walk you through an end-to-end scenario?
- Can you follow all the steps in the getting started tutorial successfully?
- How long does the getting started tutorial take to complete?
- In an attempt to simplify the instruction and keep it brief, does the documentation make assumptions about your technical level and familiarity with the domain?
72/145 pages complete. Only 73 more pages to go.
